

Adding Redis to OpenLiteSpeed introduces an additional caching layer, enhancing the performance of your WordPress websites.
The first step is to verify your PHP version. This can be done through phpinfo() or via the OpenLiteSpeed web panel.
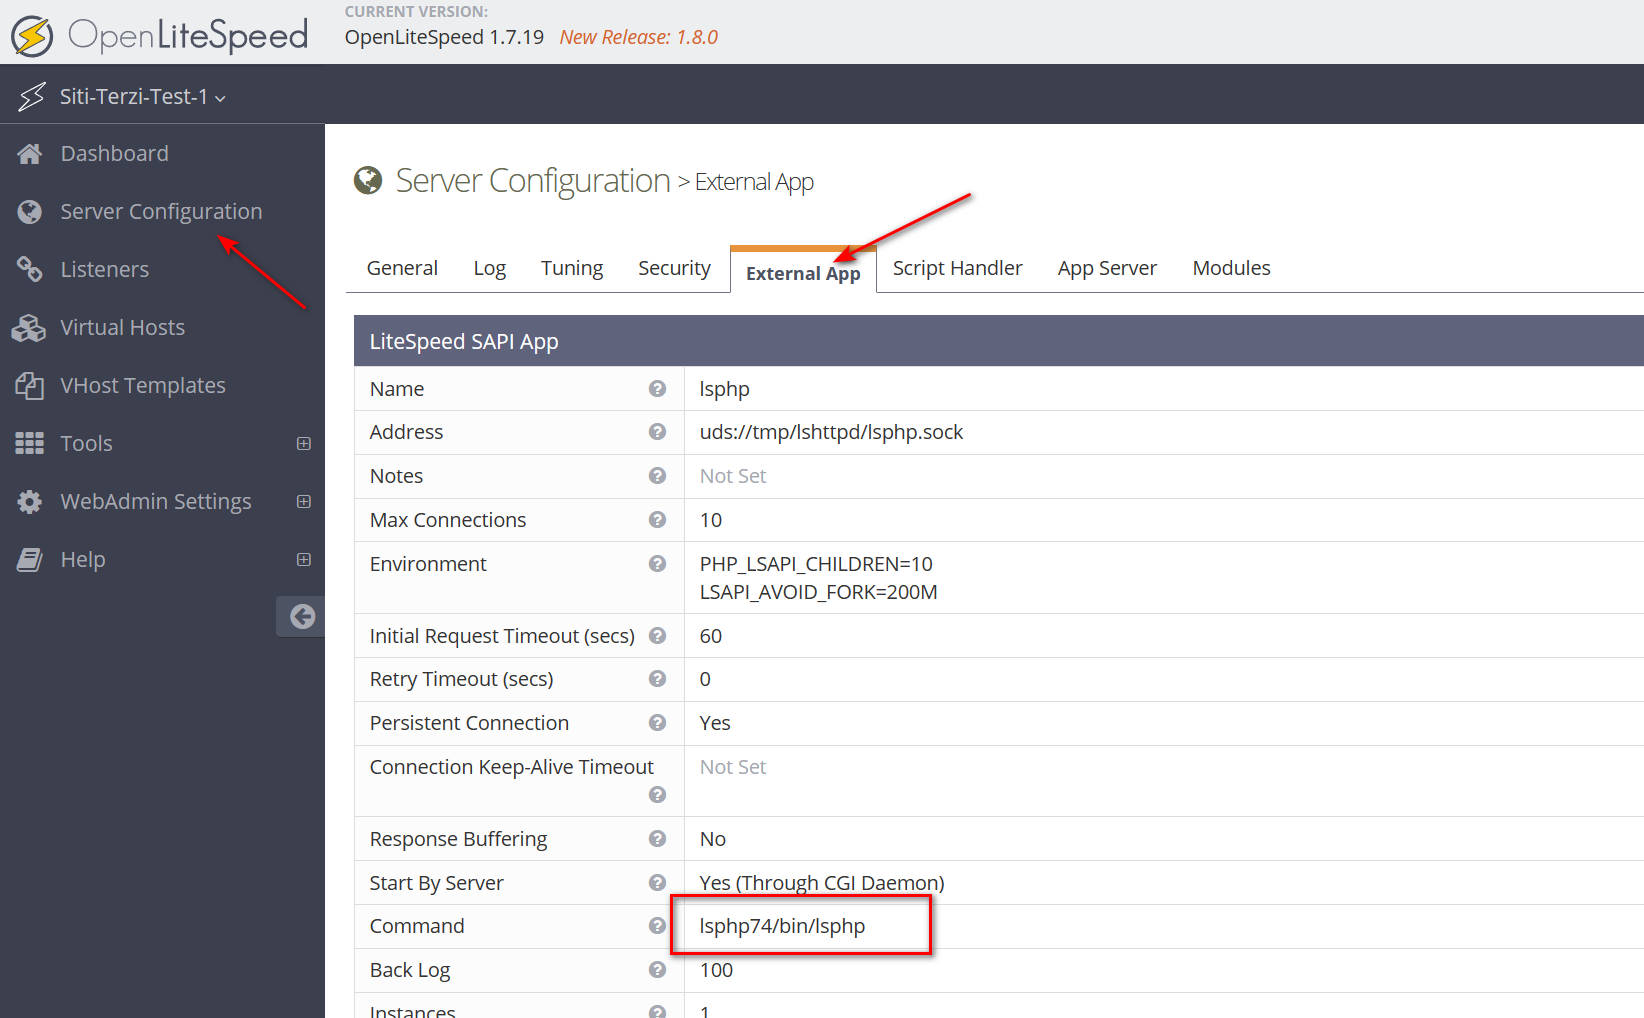
In my case is PHP 7.4
In SSH
sudo apt update
sudo apt install redis-server

systemctl start redis-server
systemctl enable redis-server

sudo wget -O - https://repo.litespeed.sh | sudo bash

sudo apt update

sudo apt install lsphp74-redis

sudo systemctl restart lsws
Now that Redis is installed and operational, let’s proceed to enable it in WordPress. If you’re utilizing OpenLiteSpeed along with WordPress, you’re likely using the LiteSpeed Cache Plugin.
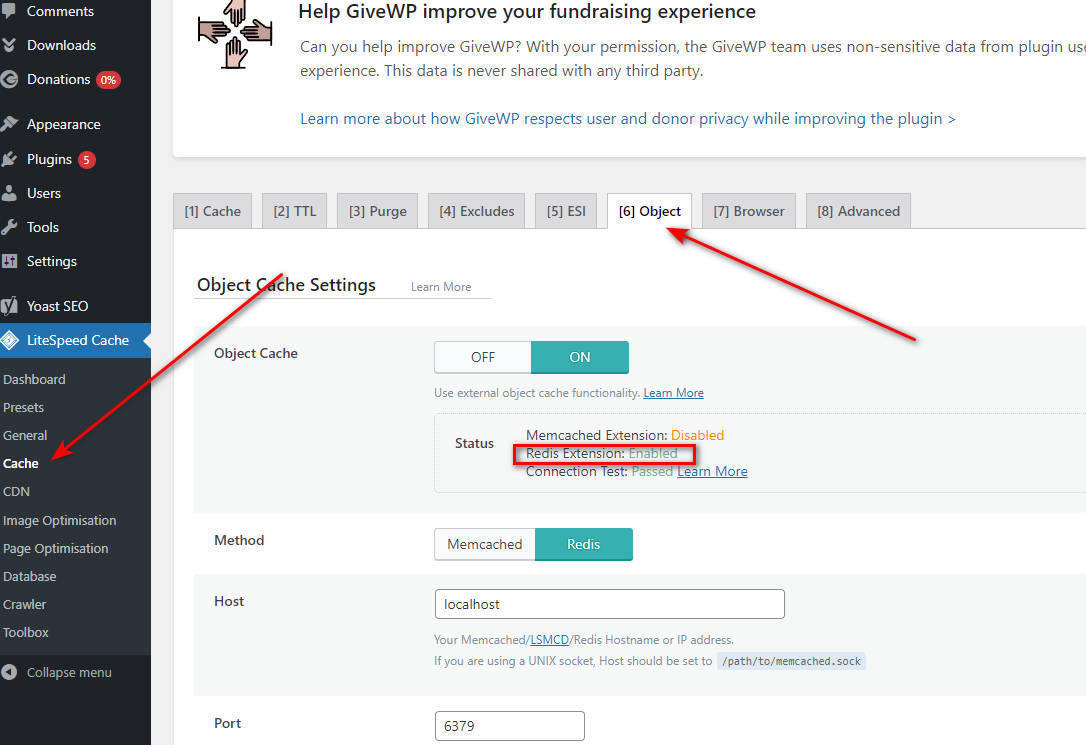
Navigate to Cache -> [6] Object -> Object Cache. If Redis is correctly installed, you should see the option “Redis Extension: enabled”.
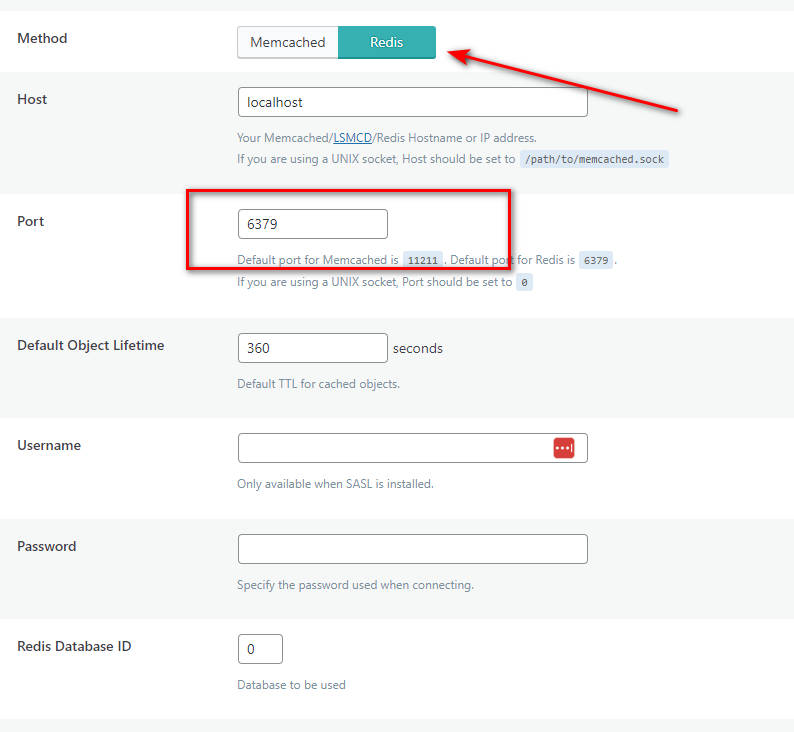
Select the method: Redis. Then, adjust the port to 6379.
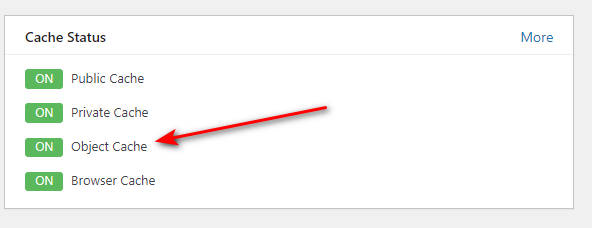
Done.
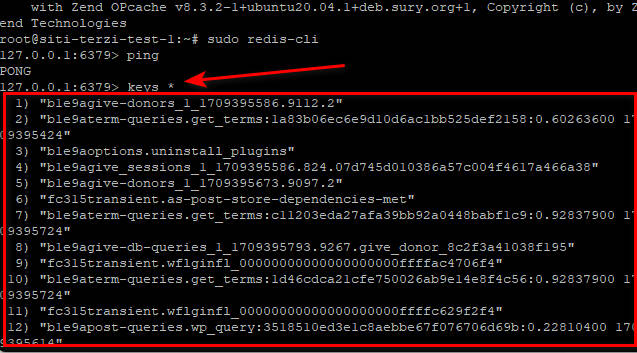
To verify if Redis is functioning on your site via SSH, you can perform the following steps:
Access your site’s server through SSH.
Once connected, enter the following command to use the Redis command-line interface:
sudo redis-cli
keys *
If you receive a list of keys (arrays), it means Redis is working correctly on your site. This list represents the keys currently stored in Redis, indicating active caching or data storage operations.
And that’s it. You should replicate this configuration across all your WordPress installations.
Congratulations, you are now leveraging Redis on OpenLiteSpeed.
Questions? Suggestions? Please leave a comment below.