
Fast like Nginx and configurable via a web interface, OpenLiteSpeed offers peak performance for caching WordPress sites
Choosing the right web server software is crucial for hosting WordPress sites efficiently. OpenLiteSpeed emerges as a superior choice over traditional servers like Apache or Nginx for several compelling reasons.
Firstly, OpenLiteSpeed is renowned for its exceptional performance, especially when it comes to handling dynamic content. This is particularly beneficial for WordPress sites, which are dynamic in nature. Unlike Apache, OpenLiteSpeed can serve thousands of requests per second with lower resource consumption, translating into faster page loads and a better user experience.
Another advantage is its built-in support for LSCache, a powerful caching module specifically designed for WordPress. This feature allows OpenLiteSpeed to deliver unparalleled caching efficiency, further boosting website speed and reducing server load. While Nginx can be fast for static content, OpenLiteSpeed’s tailored optimization for WordPress makes it a superior choice for such platforms.
Lastly, the transition from Apache to OpenLiteSpeed is relatively straightforward, thanks to its Apache compatibility mode. This means that most Apache .htaccess directives work seamlessly with OpenLiteSpeed, making the migration process smoother for existing WordPress sites.
- Disabling Apache on Ubuntu 22.04
- Installing OpenLiteSpeed
- Opening Ports for OpenLiteSpeed Firewall
- OpenLiteSpeed Configuration
- Changing PHP Version Linked to OpenLiteSpeed
- Setting Up Virtual Hosts (vhosts)
- Creating a Listener for Hosting on Port 80
- Installing and Configuring Certbot for OpenLiteSpeed to Generate Let’s Encrypt SSL
- Installing Certificates in the Virtual Host and Configuring the Listener on Port 443
- Enabling .htaccess Reading and Rewriting on OpenLiteSpeed
- Changing Ownership of Files and Directories from www-data to nobody:nogroup
- Installing the LiteSpeed Cache Plugin on WordPress to Utilize LSCache
- Useful Links
Disabling Apache on Ubuntu 22.04
If Apache is running on the server, it typically uses ports 80 and 443, which are the same ports we will use for OpenLiteSpeed. Therefore, in this case, we stop and disable Apache.
sudo systemctl stop apache2
sudo systemctl disable apache2
sudo systemctl is-enabled apache2
Installing OpenLiteSpeed
sudo apt update
sudo apt upgrade

wget -qO - https://rpms.litespeedtech.com/debian/enable_lst_debian_repo.sh | sudo bash

sudo apt-get install openlitespeed

sudo apt install lsphp74
sudo apt install lsphp74-common lsphp74-mysql lsphp74-imap lsphp74-curl


sudo /usr/local/lsws/bin/lswsctrl start

#Setting the password

sudo /usr/local/lsws/admin/misc/admpass.sh
Opening Ports for OpenLiteSpeed Firewall
sudo ufw allow 8088
sudo ufw allow 7080
sudo ufw reload

#of course 80 and 443 must be open as well
OpenLiteSpeed Configuration
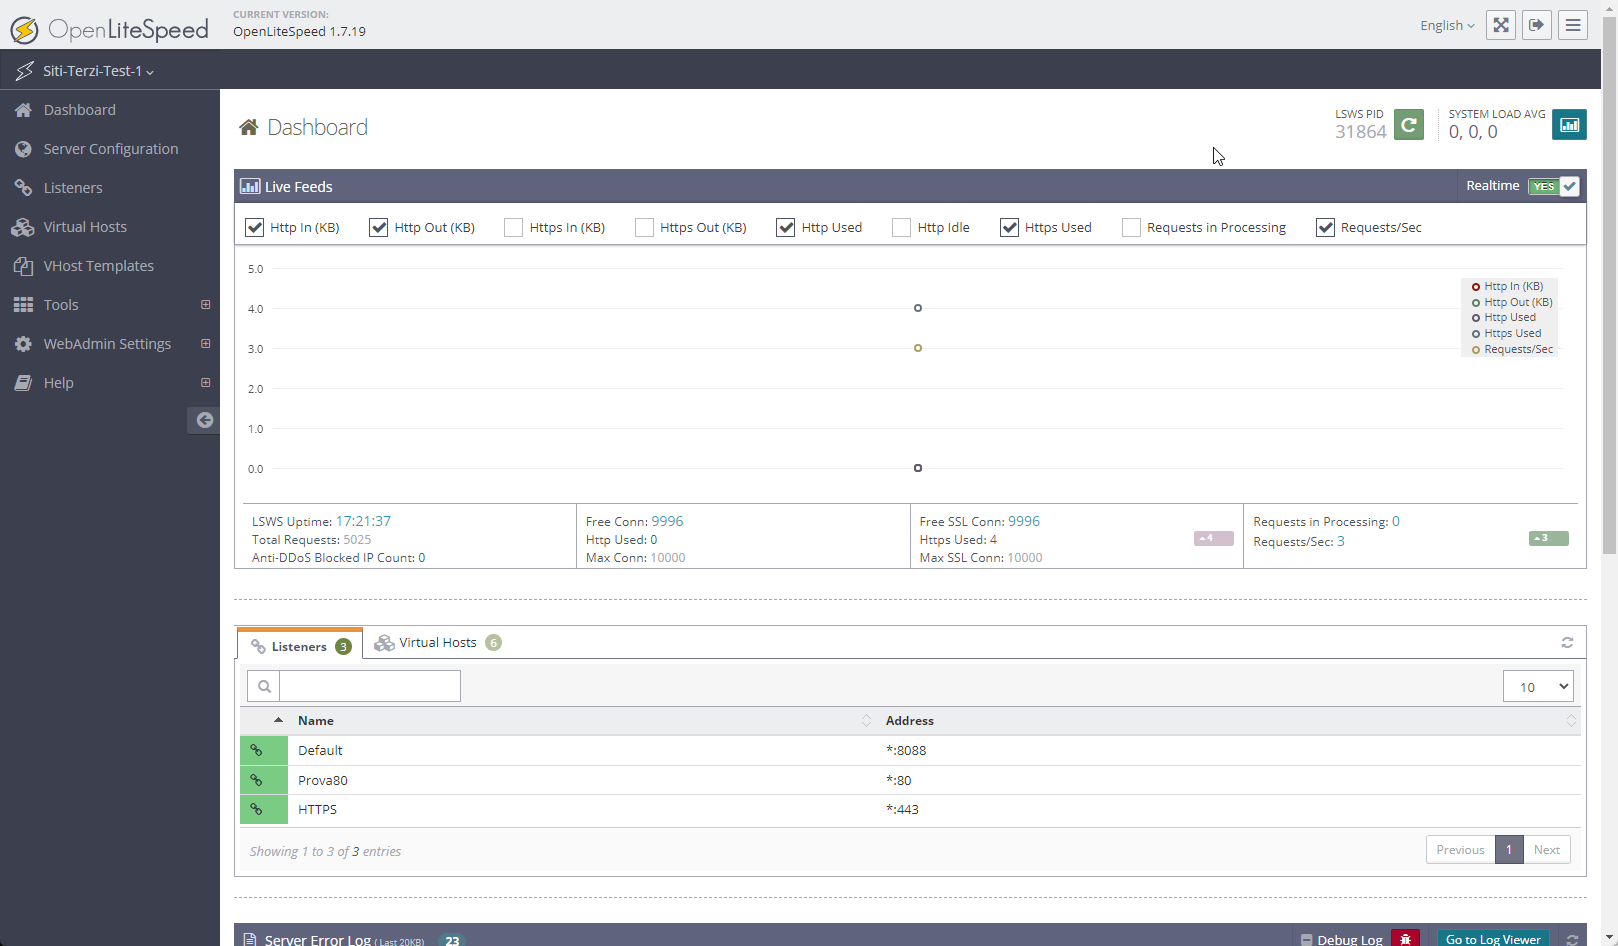
Once these procedures have been carried out, you should be able to log in to the OpenLiteSpeed web interface at the address https://<server_ip>:7080
Changing PHP Version Linked to OpenLiteSpeed
As of today (February 2024), OpenLiteSpeed installs PHP version 7.4 by default, but it is also possible to install a more recent version.
#PHP 8.2 for OpenLiteSpeed
sudo apt-get install lsphp82
sudo ln -sf /usr/local/lsws/lsphp82/bin/lsphp /usr/local/lsws/fcgi-bin/lsphp7
Once installed you can change the php version from the OpenLiteSpeed control panel
OpenListeSpeed > Server Configuration > ExternalApp > LiteSpeed SAPI App
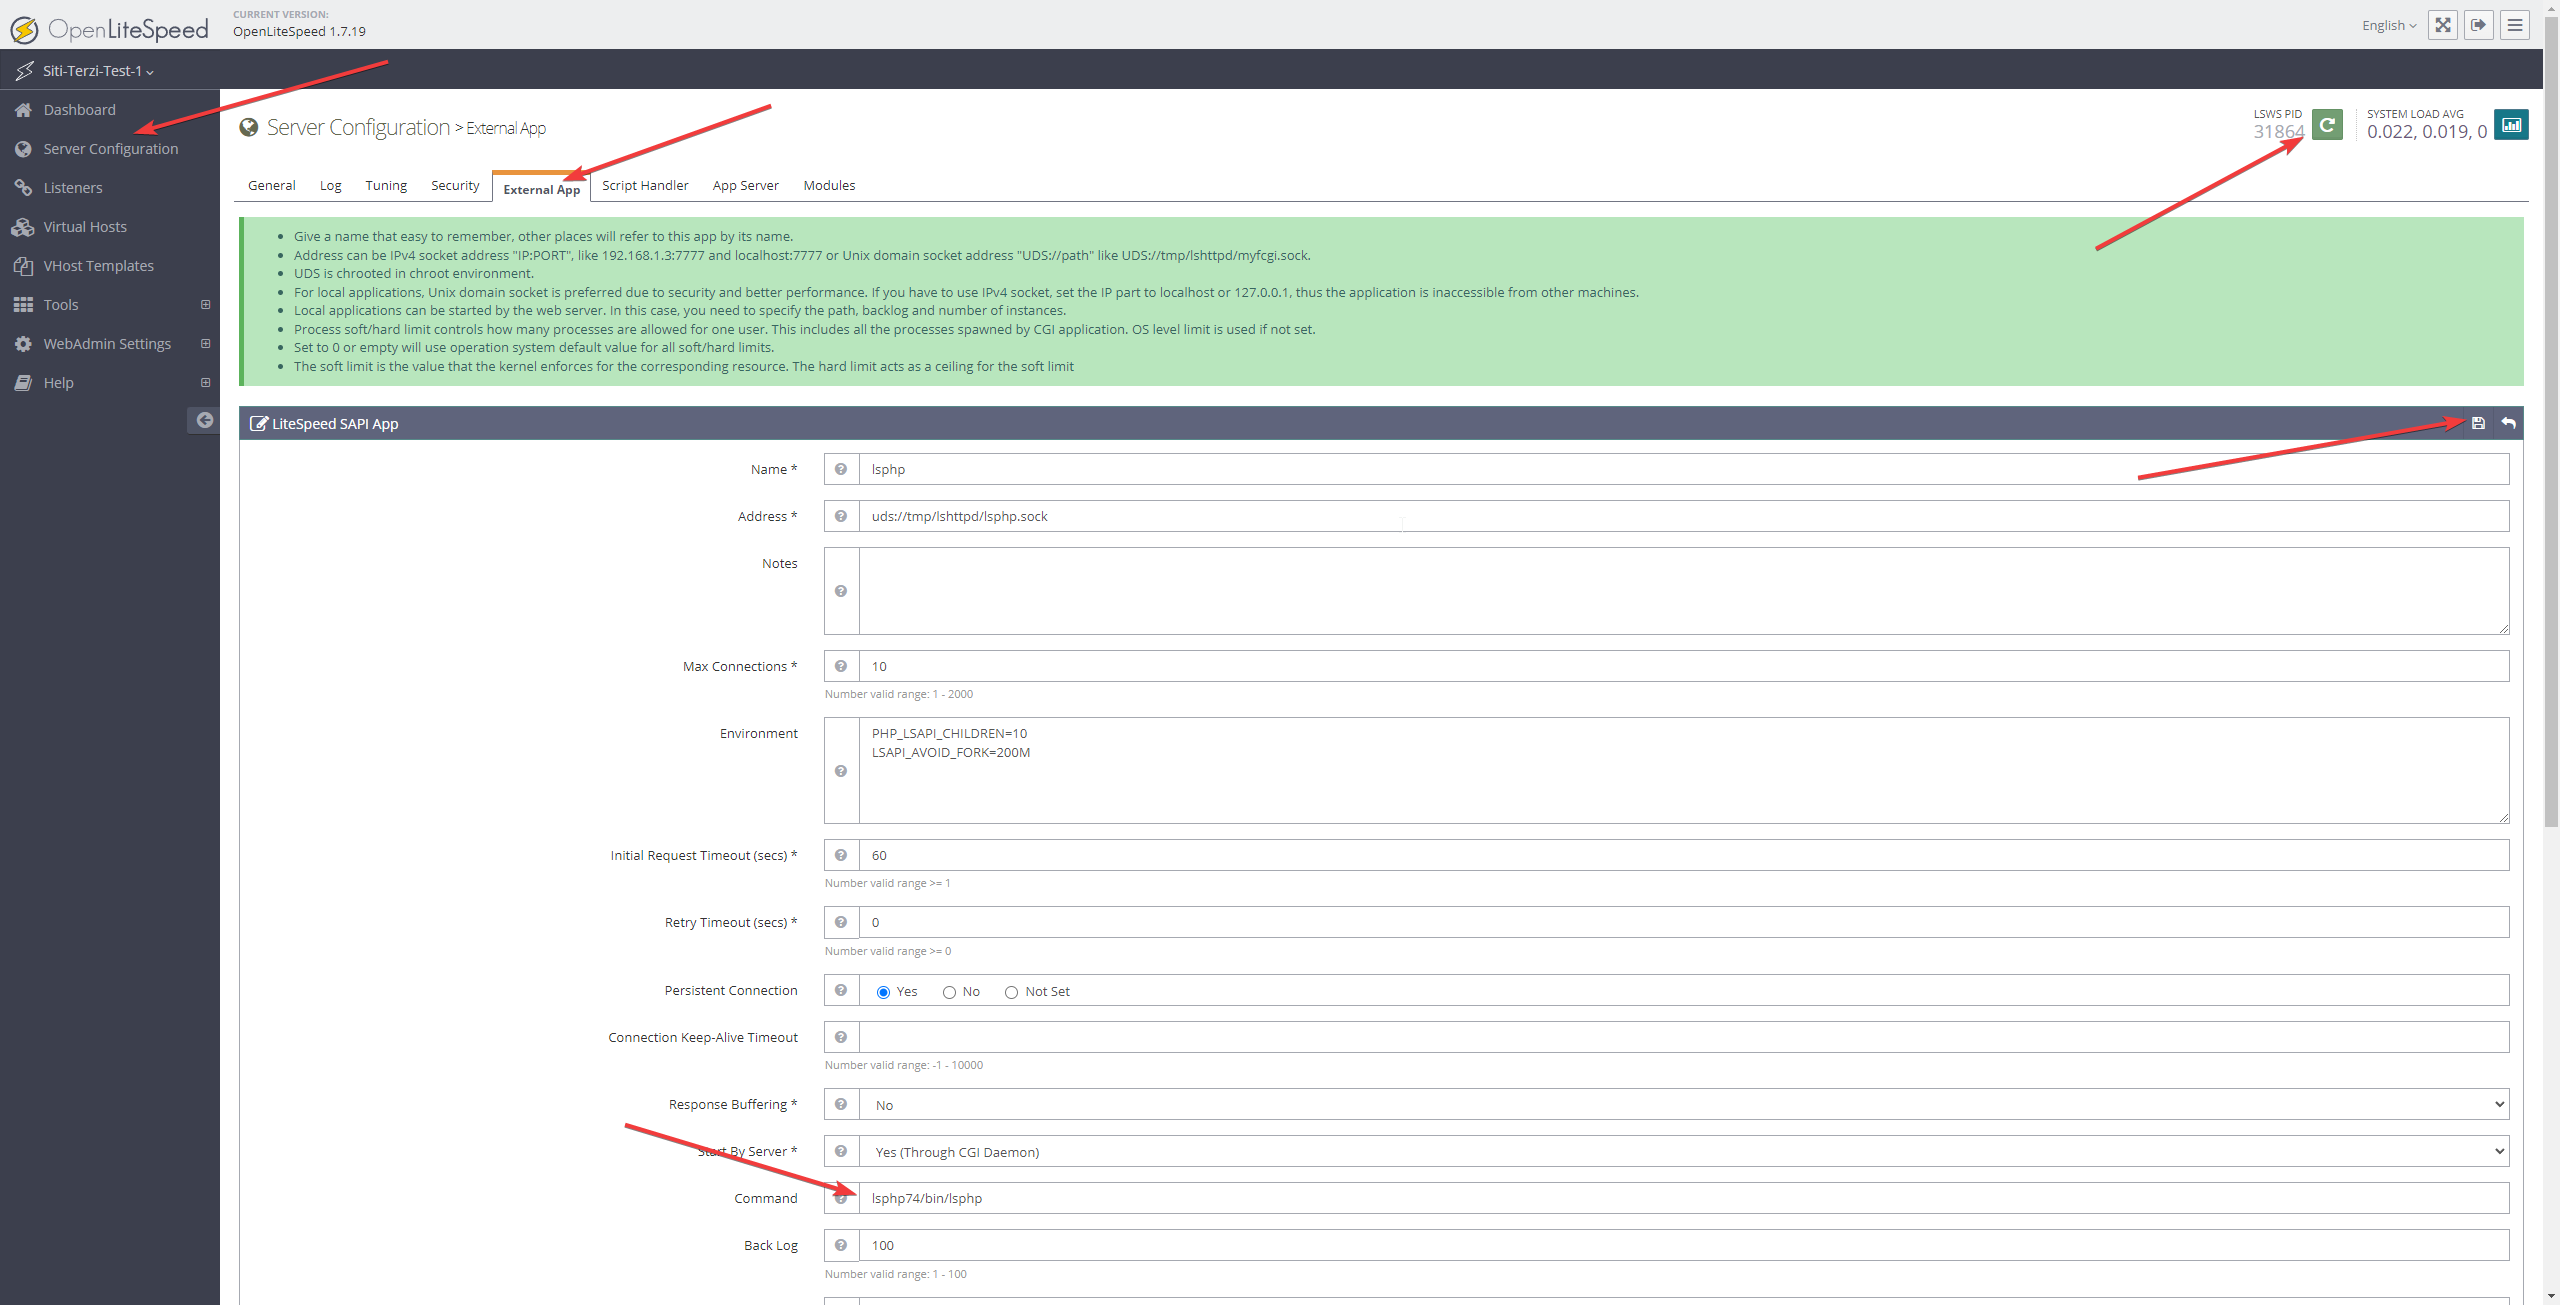
In our case PHP 7.4 is located at lsphp74/bin/lsphp
We can change to /usr/local/lsws/lsphp82/bin/lsphp for PHP 8.2
After the changes always remember to restart OpenLiteSpeed clicking on the green button on the top right corner. (LSWS PID)
Setting Up Virtual Hosts (vhosts)
In my case, I am converting from Apache to OpenLiteSpeed, so I already have my WordPress files in a default folder, for example, srv/www/htdocs/test.com/.
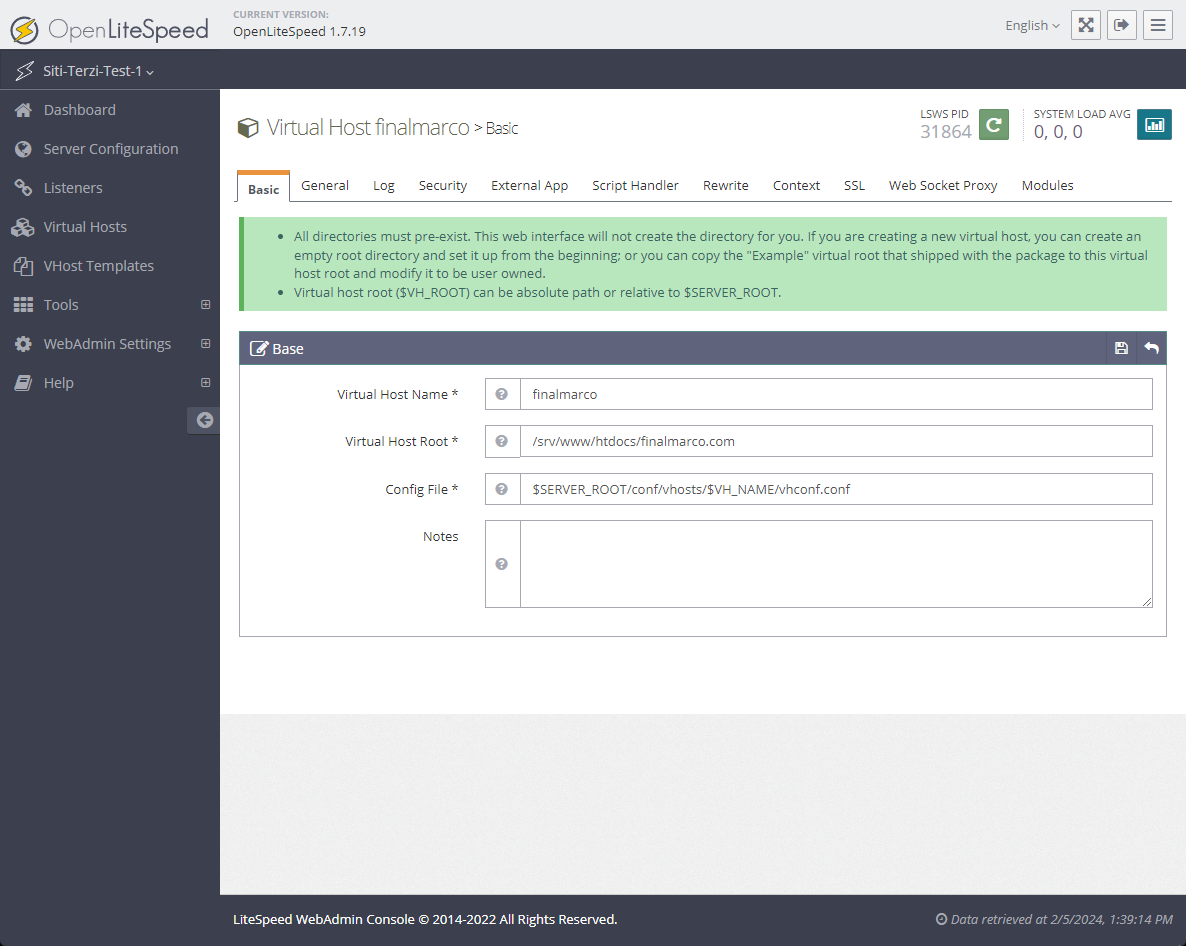
To set up the Virtual Host on OpenLiteSpeed, you need to go to Virtual Hosts > + and fill out the various required fields:
- Virtual Host Name * Test.com
- Virtual Host Root * srv/www/htdocs/test.com
- Config File * $SERVER_ROOT/conf/vhosts/$VH_NAME/vhconf.conf
- Enable Scripts/ExtApps * YES
- Restrained * YES
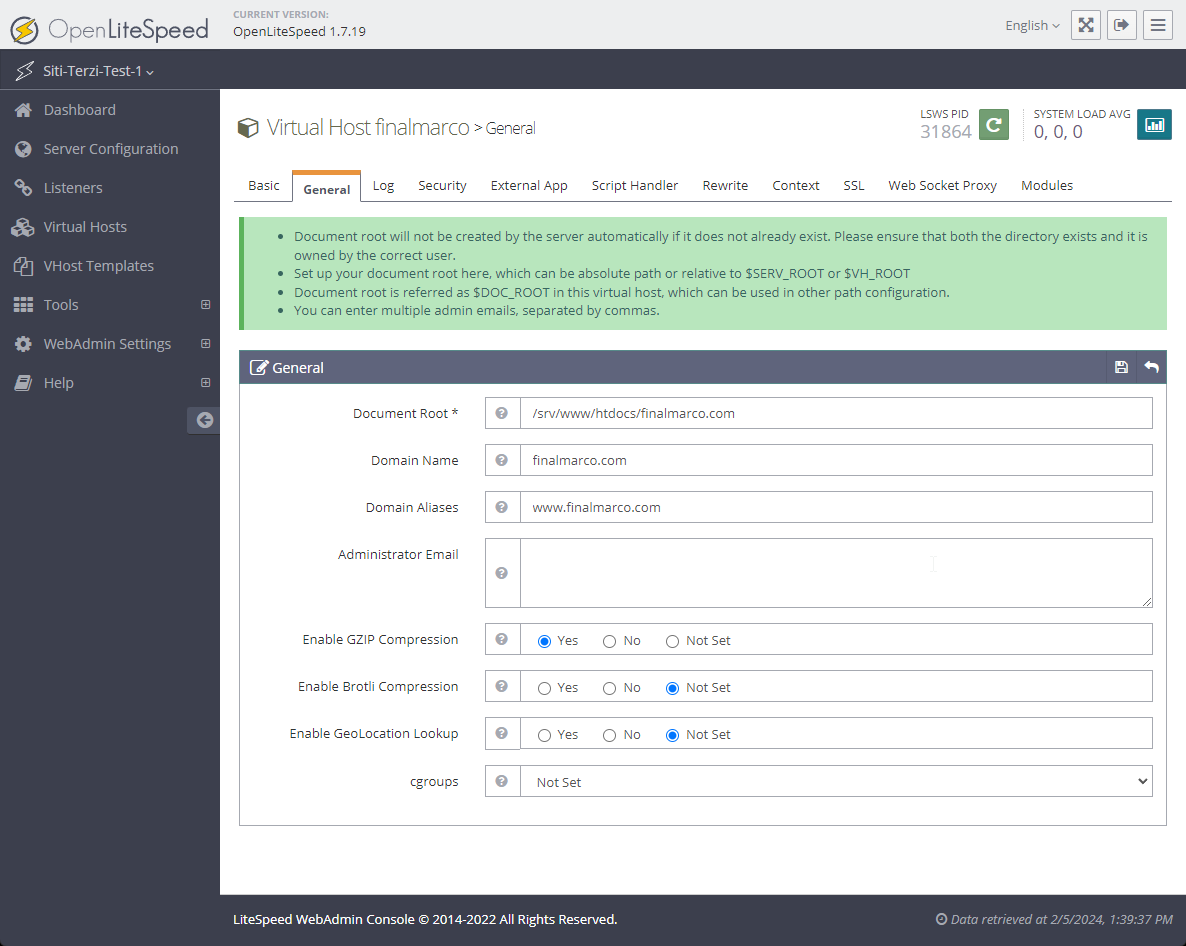
Once the virtual host is created, you must immediately go to edit > general and add the three fields: Document Root: as the virtual host root, domain name as the domain name without www, and aliases with the www.
Creating a Listener for Hosting on Port 80
To ensure that the site is accessible via HTTP, it is necessary to enable a listener on port 80.
To do this, go to Listener > +.
Set a name for the Listener, add port 80, and set “Secure” to NO.
Once the listener is created, go to edit and map the created virtual host under Virtual Host Mappings.
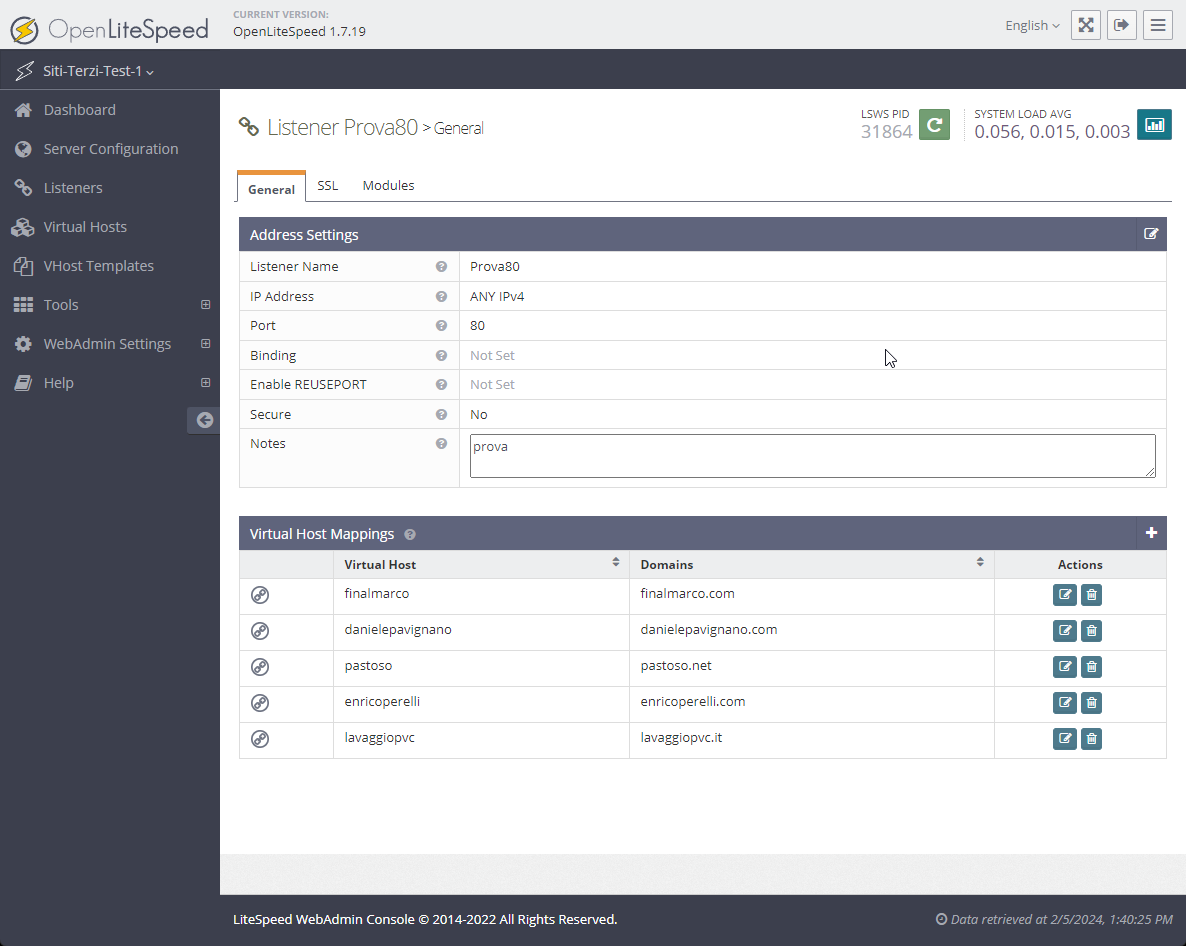
Save and restart LSWS
Installing and Configuring Certbot for OpenLiteSpeed to Generate Let’s Encrypt SSL
Certbot is a free, open-source software tool for automatically using Let’s Encrypt certificates to secure HTTPS on websites. It simplifies the process of obtaining, installing, and renewing SSL/TLS certificates, enabling website owners to easily secure their sites with HTTPS.
#Installazione
sudo apt update
sudo apt install certbot
Obtain the certificate:
certbot certonly --webroot -w /srv/www/htdocs/test.com -d test.com,www.test.comThis operation needs to be performed for each domain. Once the certificates have been obtained, they should be located in the following folder
etc/letsencrypt/live/test.com/fullchain.pem
etc/letsencrypt/live/test.com/privkey.pem
Given that Let’s Encrypt must be renewed every 3 months, we need to add an operation for automatic renewal to the cron schedule.
nano /etc/cron.d/certbot
Comment out the line that performs the refresh for Apache and add the one for OpenLiteSpeed, which also executes the webserver restart.
0 */12 * * * root test -x /usr/bin/certbot -a ! -d /run/systemd/system && perl -e ‘sleep int(rand(43200))’ && certbot -q renew –deploy-hook “systemctl restart lsws”
Installing Certificates in the Virtual Host and Configuring the Listener on Port 443
We need to establish a listener for port 443. To create the listener, simply follow the same guidelines as for port 80, but ensure Secure is set to YES.
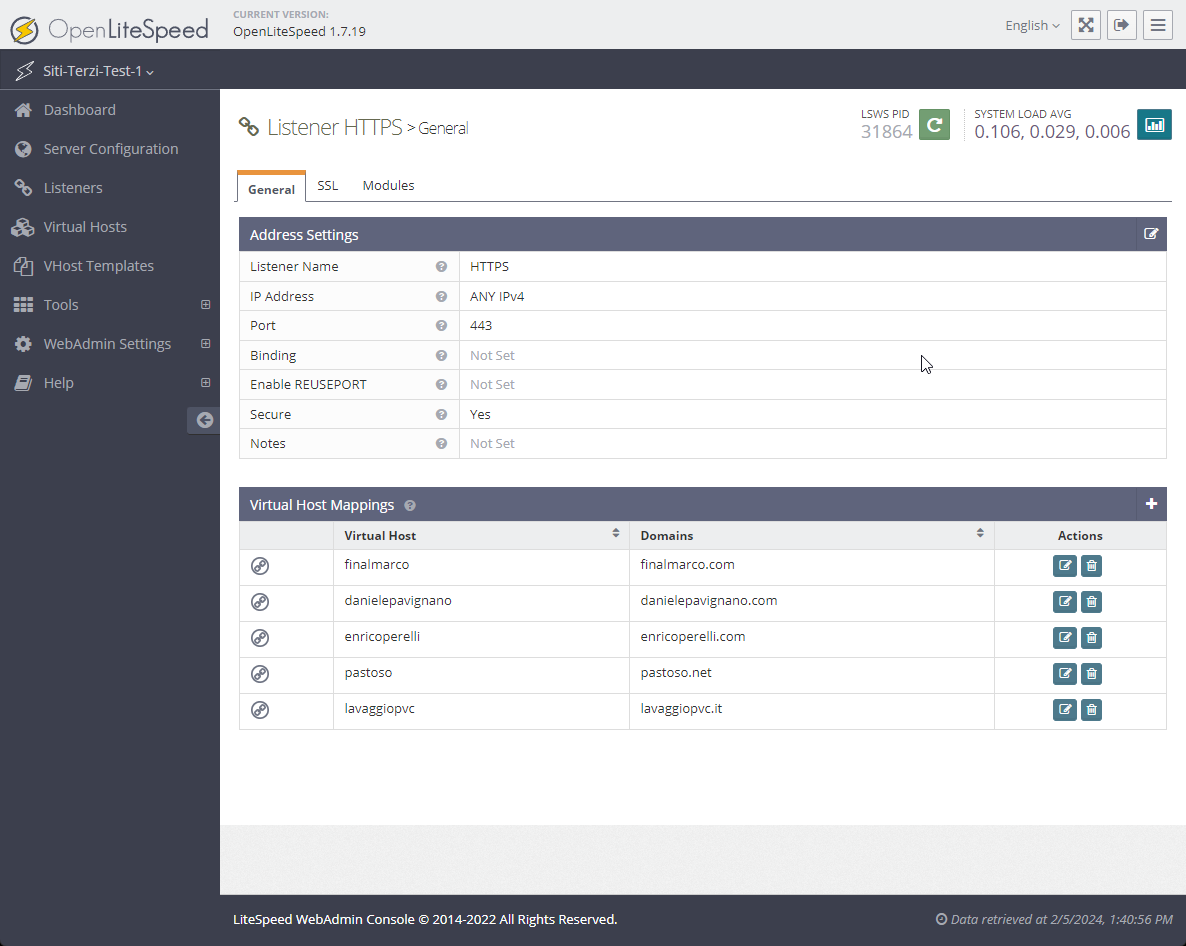

Once the listener is created, navigate to EDIT > SSL and input the two keys, also setting Chained Certificate to YES. If you have multiple domains, there’s no need to worry; simply enter the correct keys in the SSL settings of each individual virtual host, as these take precedence over the listener’s settings.
Remember to map the domains (as done for port 80) and restart the LSWS.
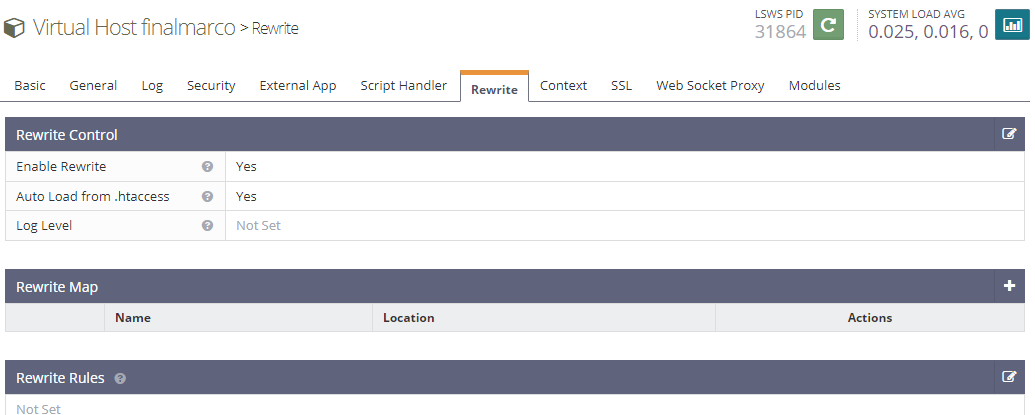
Enabling .htaccess Reading and Rewriting on OpenLiteSpeed
Under the virtual Hosts set Enable Rewrite to YES and Auto Load from .htaccess to YES
Changing Ownership of Files and Directories from www-data to nobody:nogroup
Likely, the files are now under the www-data group, and thus OpenLiteSpeed cannot write to them. In the default configuration, OpenLiteSpeed uses nobody:nogroup.
Therefore, with the command below, the files should be made accessible to OpenLiteSpeed:
sudo chown -R nobody:nogroup /srv/www/htdocs/test.com
Installing the LiteSpeed Cache Plugin on WordPress to Utilize LSCache
- Download the LiteSpeed Cache for WordPress (LSCWP) plugin from the WordPress Plugin Directory.
- Log into your WordPress Dashboard, go to Plugins > Add New, and click on ‘Upload Plugin’.
- Choose the downloaded LSCWP zip file, click ‘Install Now’, and then activate the plugin.
- After activation, navigate to LiteSpeed Cache > Settings > General in your WordPress Dashboard and set ‘Enable LiteSpeed Cache’ to ‘Enable’.
Userful Links
Coming soon > ADD redis to OpenLiteSpeed
Questions? Suggestions? Please leave a comment below.